Three dyes, pressed one after another — and all three are yours to set.
The dye transfer print modelled as the process it was: three separation records, three matrices, three dyes rolled onto one blank in order. Every tool in this corner gives you one crosstalk knob. This one gives you the dyes.
Nine controls for the dyes alone Densities, not a 3×3 matrix Two-strip process included One payment, no renewal
- Cyan, magenta and yellow — density, hue and bleed each
- Gelatin loading and transfer order, the two things that make a print a print
- Camera filter overlap as its own control
- Print exposure and contrast on a real characteristic curve
- Two-strip process, with no blue record at all
- Nine input curves, hue-gated skin anchor, split view
- A ten page manual, every setting in plain words
The PPT_TRIPACK folder and the manual in one
zip, with the receipt. Drop the folder into Resolve’s LUT folder whole
— it is what keeps your DCTL list readable.
Read the whole manual first (PDF)
— ten pages, every control, before you spend anything.
What it does
A print, at the end of the chain.
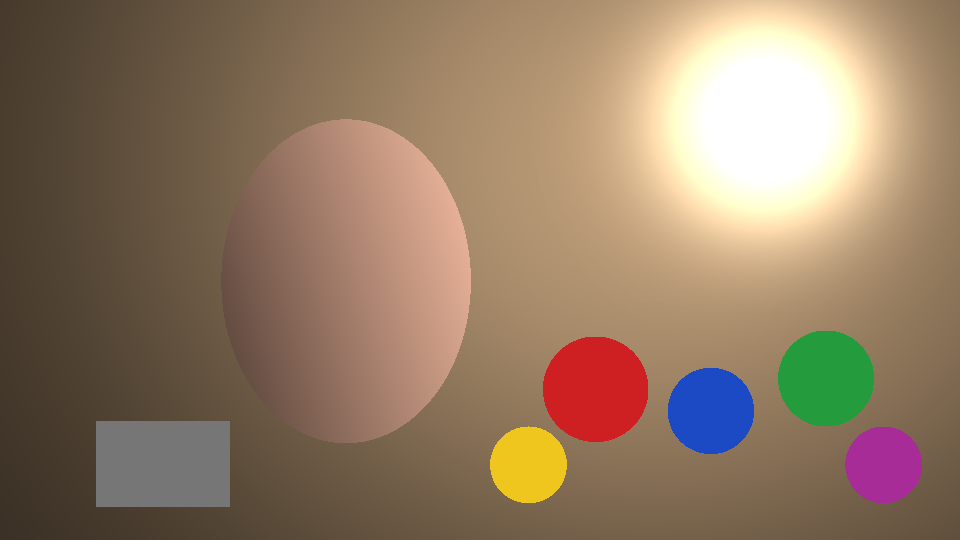
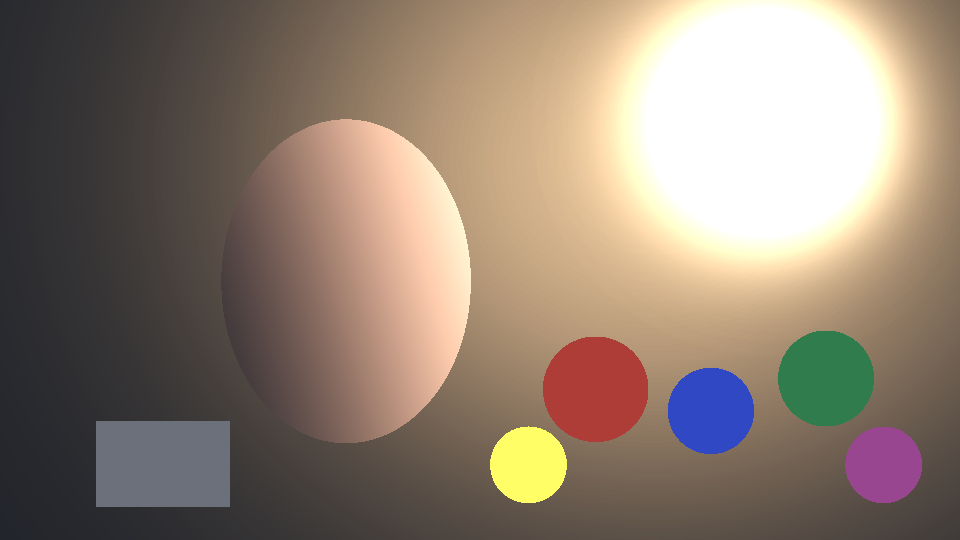
Put it on its own node after everything else — after the grade, after the CST. It decodes to scene linear, exposes three separation records through overlapping filters, lays three dyes down in order, and reads the stack back the way a densitometer would.
The difference
Nine controls where the category gives you one.
A crosstalk knob blends one dye set between clean and full: it moves you along a line. Cyan, magenta and yellow each having their own density, hue and bleed is a different thing entirely — you are not choosing a point on somebody’s line, you are building the dye set.


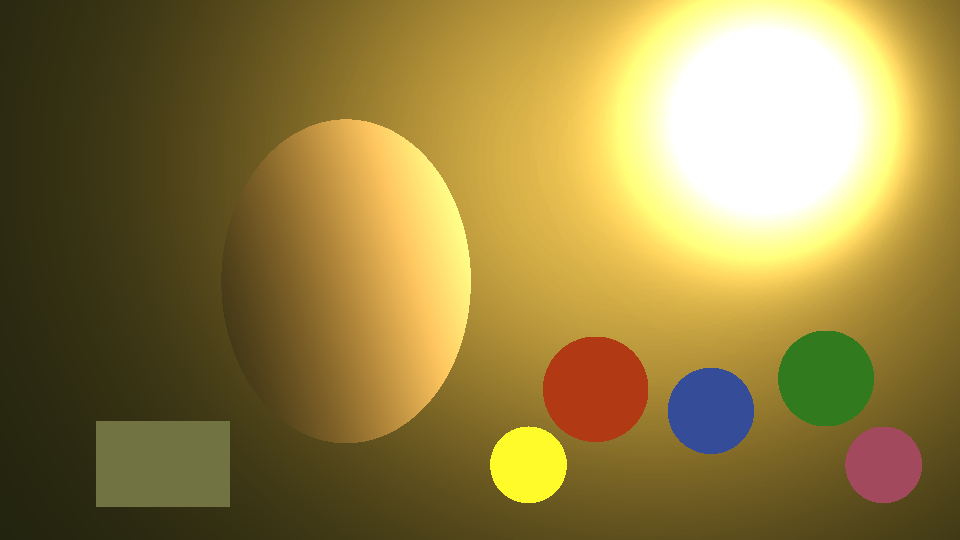
None of those three got darker. The print is normalised against a reference print of an 18% grey on luminance only — never per channel, because per-channel would divide out the cast the dye set puts on a neutral, and that cast is the entire point of a dye set. So DENSITY is a colour control and PRINT EXPOSURE is the only thing that changes brightness.
BLEED
Real dyes absorb the wrong light. That is the palette.
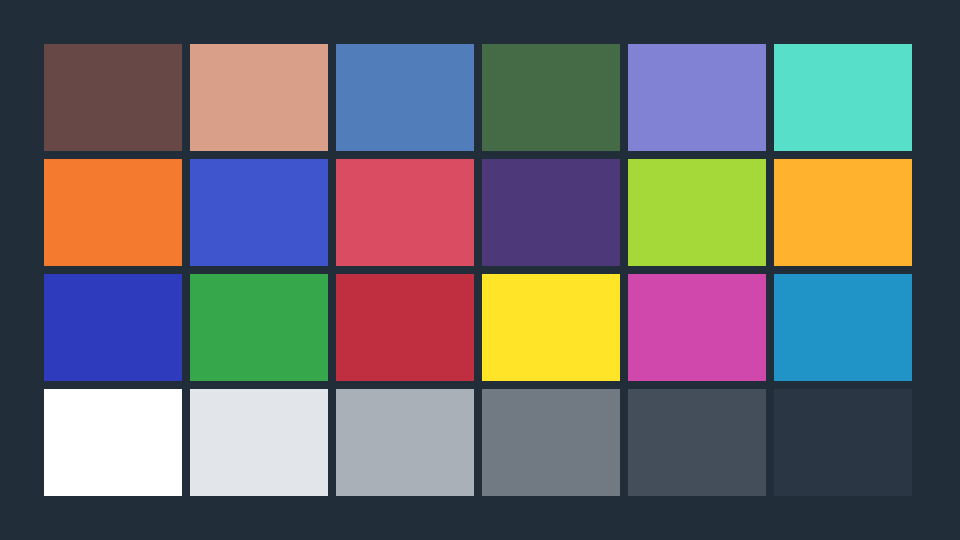
A cyan dye does not absorb only red — it takes a bite out of green and blue as well, and no chemistry ever fixed it. BLEED is how much of that a dye has; HUE is which way it leans. Cyan’s spare absorption sitting toward green or toward blue is the whole difference between a teal shadow and a navy one.
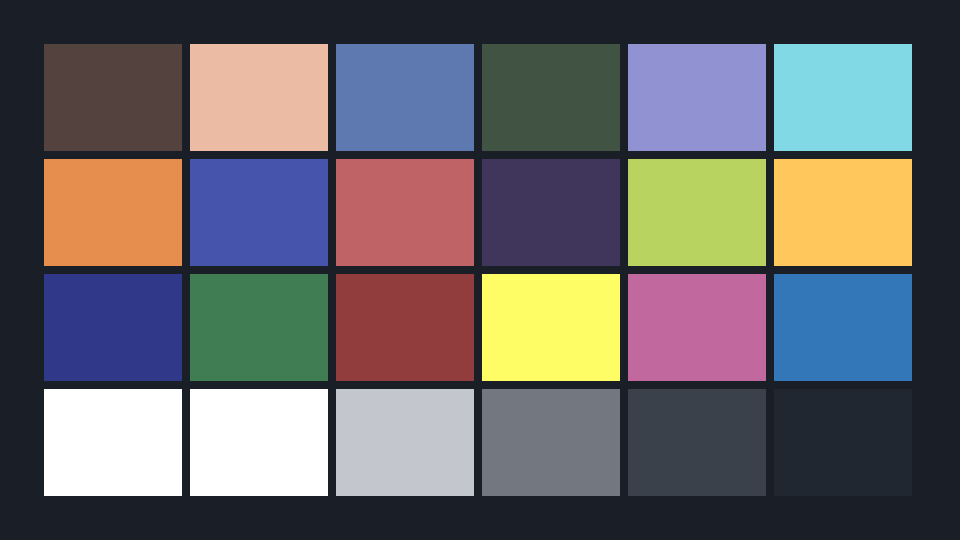
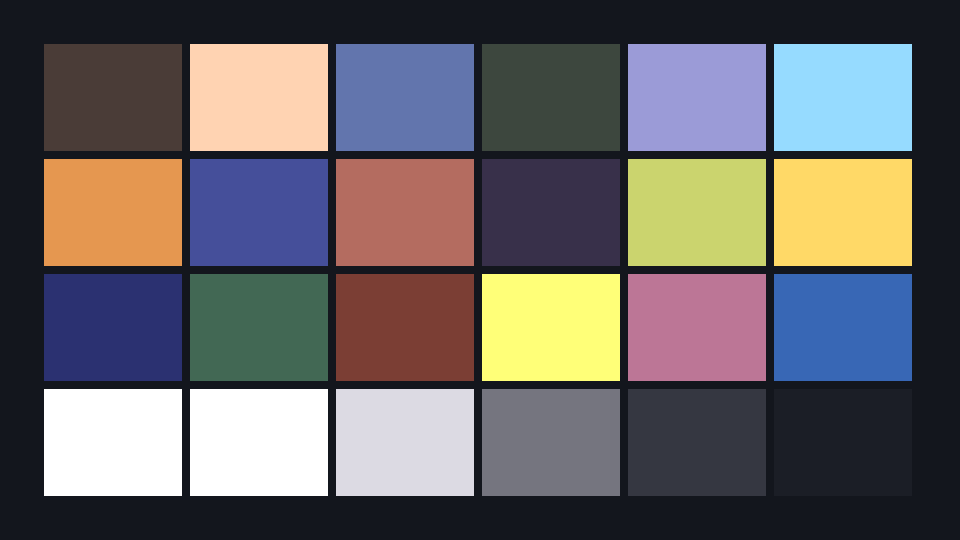
GELATIN LOADING
The second dye meets gelatin already carrying the first, and takes up less of it. The third meets more still. That is why the shadows of a real print do not simply run to black — and it is a control here, not a curve baked into a LUT.
TRANSFER ORDER
Which dye is pressed first. At zero loading it does nothing at all, which is exactly the point of it: order only matters because the blank fills up. Cyan-magenta-yellow, or the reverse, and take the shadow you prefer.
ANALYSIS OVERLAP
The camera end. The prism’s three filters overlapped heavily — they were never clean red, green and blue. Low is a separation no real camera had; high desaturates the analysis before any dye is laid.
Densities add, light multiplies
Stack two dyes and their densities add while the light through them multiplies: T = 10−D. This is why a dye stack cannot be written as a 3×3 matrix, and why a matrix-based emulation cannot reach this shape however carefully it is tuned.
Looks
Four settings tables, all four rendered.
Printed as numbers in the manual rather than shipped as PowerGrades: a .drx that has not been opened and checked in Resolve is not something worth putting in a zip. Every one of these was rendered and looked at — the first draft of two of them was wrong, which is why they were rendered.

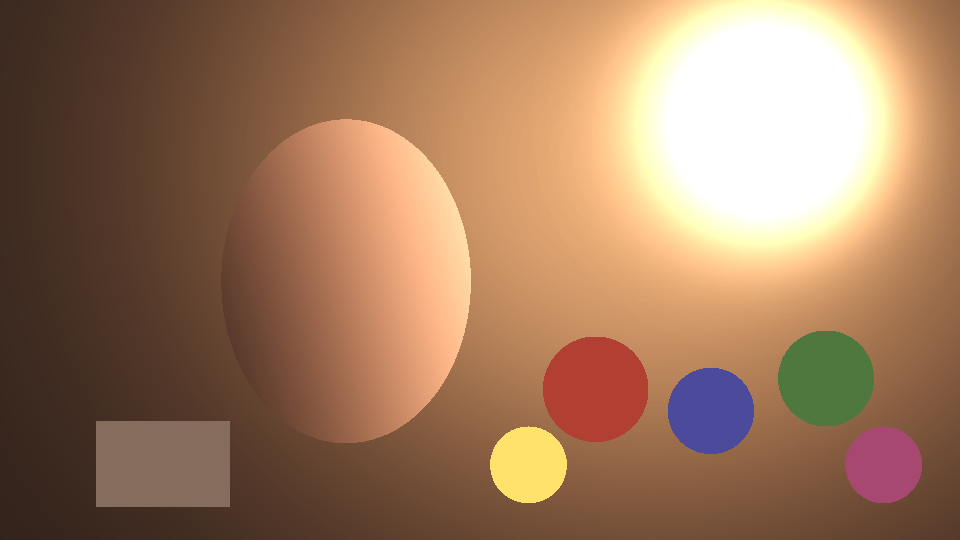
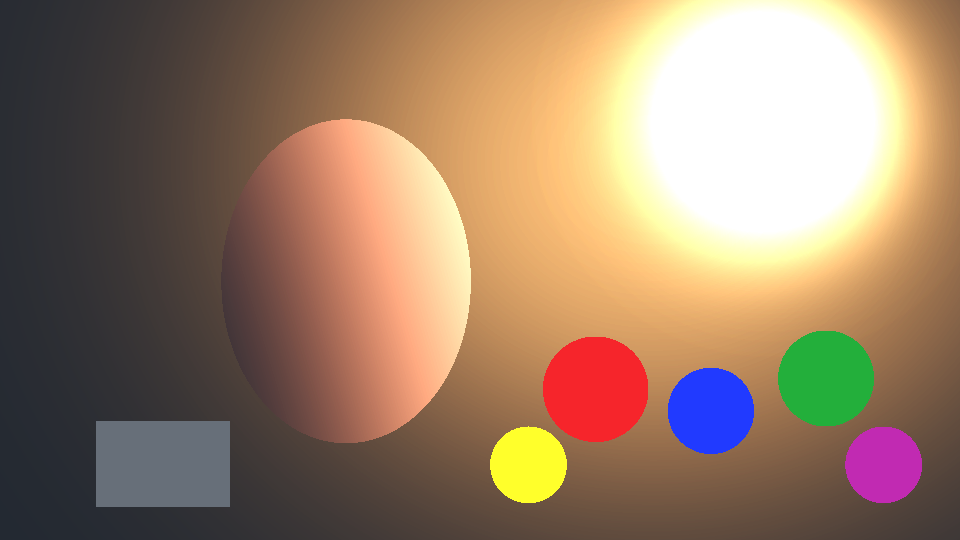
Before you install
What it will not do.
A DCTL is a shader. Resolve gives it one frame and takes one frame back, and most of what follows is a consequence of that. None of it is on a roadmap, because none of it is possible in the format.
It needs Resolve Studio
The free edition does not run DCTLs at all. That is Blackmagic's line, not ours, and no file we could send you gets around it. An OFX build would run in free Resolve; it is a different piece of software and it is not written yet.
It cannot tell what curve it is being fed
There is no metadata at a node, only pixels, so INPUT COLOR SPACE and INPUT GAMMA are controls you set rather than something the file works out. Set them wrong and every dye reading in the frame is wrong with it - and the picture will look plausible enough that you may not catch it.
It is not an emulation of a named title
It models the process, not a colourist's grade on one particular release print. Nothing here is affiliated with, endorsed by or derived from Technicolor; the chemistry is out of the published literature. If you want a specific film, grade toward it - with a dye set underneath, that is a much shorter trip than it usually is.
There is no licence key in it
Resolve gives a DCTL no network, no storage and no machine id, so the file cannot check anything and nothing could ever revoke it. It is sold on trust, it is priced accordingly, and we would rather say so here than pretend there is a lock on it. What you get is the file, the manual and every 1.x update.
It cannot be taken back, so there is no return window
Once the zip is in your hands there is nothing to return and no key that could stop it working. Everything it does is on this page, in renders from the file itself, and the whole manual is a click away before you spend anything - read both, and write to us first if anything is unclear.
It goes last, and it does not replace a grade
Exposure, balance and shot matching are still your job upstream. Put it before the grade and you are grading a print, which is backwards. What it will do is make a set of shots that were balanced properly hang together as one piece of film.
It does not round-trip exactly on log input
TRIPACK works in Rec.709 primaries and clamps negative light, so wide-gamut colour is brought in and S-Log3 values below code 0.093 decode negative and are clamped. An exact round trip is only claimable on the display spaces. What holds in all nine encodings is idempotence: run it twice at STRENGTH 0 and you get what running it once gives you.
Eleven automated tests run before every build ships: bypass is bit-exact, strength 0 is exact on the display spaces and idempotent in all nine, out-of-gamut colour is brought in rather than broken, a neutral holds its luminance to within 2%, the print curve is monotonic on a 64-step ramp with no solarisation, all twenty-four controls demonstrably change the output, and the two-strip process provably never touches the yellow dye.
From download to a print on the node: about thirty seconds.
- Unzip what arrives with the receipt. Put PPT_TRIPACK whole into Resolve’s LUT folder — Project Settings → Color Management → Open LUT Folder, then Update Lists.
- Add it as an effect, on a new node at the end. Effects → ResolveFX Color → DCTL, then pick TRIPACK in the list. Applying a .dctl from the node’s own LUT menu runs it with defaults and shows you no controls at all — that is the usual reason the settings appear to do nothing.
- Set INPUT COLOR SPACE and INPUT GAMMA first. Whatever is actually arriving at that node. Then turn on SPLIT VIEW and start with the dyes.
It needs DaVinci Resolve Studio. There is no key to paste and nothing to activate - a DCTL cannot check one, which is the same reason this is sold on trust.